I officially got back in "school mode" today - getting my classroom ready for lots of little bodies in just a couple of short weeks. The first thing I usually tend to do is decorate the room and get everything in it's place... Then I can start really planning, making copies, and getting ready for the lessons that are going to be taught. So naturally, today I made flower pens!! :)

Classroom Design
Now is a good time to talk about classroom design. Whether you are a teacher or not, you probably have seen a few classrooms here and there and have thought, "oh that's kinda cute" or maybe thought that the class looked pretty"kid-friendly". Some teachers go crazy decorating their classrooms and making them perfect. I bet you never thought that there was actually method to the madness of the decor or arrangement of the room... The truth is, when I was a first-year teacher, I didn't really know what I was doing (shocker!). I just wanted my room to look "cute". So I decorated it and made it look how my college dorm room would have looked. All colorful and pretty and girly (and expensive) and it was fine and dandy, but as I have been teaching through many years, I realize that each and every color, board, poster, bin, label, desk, table, chair, and tag has a purpose. I realize that space is so precious in a classroom. Lastly, I realize that the classroom is for the STUDENTS not the TEACHERS. Now, I'm not going to lie - if I could have a second job, it would probably be an interior decorator or wedding planner or something because I LOVE planning parties and decorating - Soooo I like the room to be cute, and cheerful. :) I do not see anything wrong with that! But I am going to say that it took me a couple years to realize that the decorations are NOT FOR ME. The signs posted should be beneficial to the STUDENTS. The flower pens are NOT FOR ME. This is THEIR classroom. So, every year, when setting up, I see things on Pinterest and I'm like "Ohh that's cute!" then right away I say "Will this benefit my kids?" or "Is this what's best for my kids?" If the answer is no, then I move along to the next cute idea. I've read up on some data behind classroom decor and atmosphere. I've found some of these articles really helpful when choosing designs and colors for my classroom. How to Decorate your classroom to maximize learning , How Classroom Design Impacts Learning.In this article, Classroom Design Affects Student Learning, after a study, it cites that
"“Classroom design could be attriIbuted to a 25 percent impact, positive or negative, on a student’s progress over the course of an academic year. The difference between the best- and worst-designed classrooms covered? A full year’s worth of academic progress.”I thought this was a pretty powerful!!!
On the contrary, I have read some articles that have found that having a room that is "too busy" or too stimulating can be detrimental to students. This article, Bare Walls Theory, studies how a room full of kindergarteners performed in two different types of classrooms: bare walls or highly decorated. The study found that the kindergarteners that were in the highly decorated room were more distracted and scored lower on tests than when they were taught in a room with bare walls. Interesting!!!
So, my synopsis is this: Choose only a FEW colors. I have blues, grays, and yellows in my classroom. Blue is proven to be a calming color. Yellow brings out happy feelings of optimism. Also, choose things to put on the walls that your kids will actually USE. I keep my bulletin boards completely bare at the beginning of the year since we haven't had any lessons yet. I will fill them with kids work or charts as we go through our lessons throughout the year. Also, minimize your "teacher area" and make more room for your kids. About 4 years ago, I got rid of my big teacher desk because I just didn't really need all that space for myself in the room. I took up that space with another bookshelf so I could add more choices to my classroom library. A teacher doesn't really need a desk that takes up much space in the room. I keep my stuff on a small shelf in the room, and a teacher toolbox.


Lastly, try natural lighting or lamps as options for lighting. Fleurecent lighting is stressful to have shining on you all day. My room is much more calm when I pull up the blinds, plug in some lights/lamps and we learn!

This brings us back to my flower pens. (We've come full circle!) Will the kids actually USE them? The answer is yes!!! I love letting kids choose what kind of writing utensil to use. I know, some teachers are sticklers on kids using pencil, but we have to step outside our comfort zone and ask ourselves, "Do we really want our kids to erase every mistake they make?" I hope not! We all learn from our mistakes. It is suggested by Lucy Calkins in her primary writer's workshop introduction that kids use pen so that way we can see their thinking when they write. We learn so much more from that than we do from seeing a perfectly written piece of paper. I found another article on this topic. It seems to sum it up quite nicely. Pens vs. Pencils. I vote that we let kids use whatever they want to write: pens, pencils, markers, crayons. It doesn't really matter as long as they are producing a story! I took this chart from this article as well..
| Pens | Pencils |
| Never have to be sharpened. | Have to be sharpened all the time. |
| Last a long time. | Get used up after a few weeks at most. |
| Are always the same length, size, and color. Consistent and reliable. | Get shorter and shorter with use. Can be broken easily. Unreliable. |
| Cannot be erased, allowing you to see all the work a student did that day. | Have the potential to allow kids to spend too much time erasing. |
| Make a nice, dark, easy to read mark on the page. | Can be difficult to read—too light, and often smudgy. |
| Easy to photocopy. | Impossible to photocopy easily. |
| Fun and engaging for kids. Feels “grown up.” | Could be fun and engaging, too, I guess. (Yes, that is sarcasm you detect. However some kids really do prefer a pencil.) |
Flower Pen Tutorial
First, you need to get yourself some pens. I will tell you there is a type that you should get and a type that you should not get!
Get ones like this:


 |
| Use these because the top pops off easily :) |
Do not use the type with clicky tops or these other Bic pens


 Then wrap all the way down.


 |
| The bottoms do not come off so easily! I have lived and learned.... |
 |
| Do not use pens with a clicky top!! |
Now that we've got that all squared away, here are the materials: Pens (see above for type), hot glue gun, flower bunches, floral tape, wire cutter (if flowers do not pop off easily), and modge podge (optional).
First, pop off all the tops.

Next, pop off the tops of the flower stems. You may have to use a wire cutter on some stems if they don't pop right off. Then, start gluing the flower tops onto the tops of the pens. Just run the glue on the edge. If you get the glue inside the pen, it will freeze up the ink and it will not work (not that I've done that before).


Then I do another layer of glue around the flower after it's pushed on - just for security!!

After all the tops are glued on, it's time to wrap the "stems". Just take some floral tape
(I got mine at Michaels for like $1.99). and start with a dot of glue.

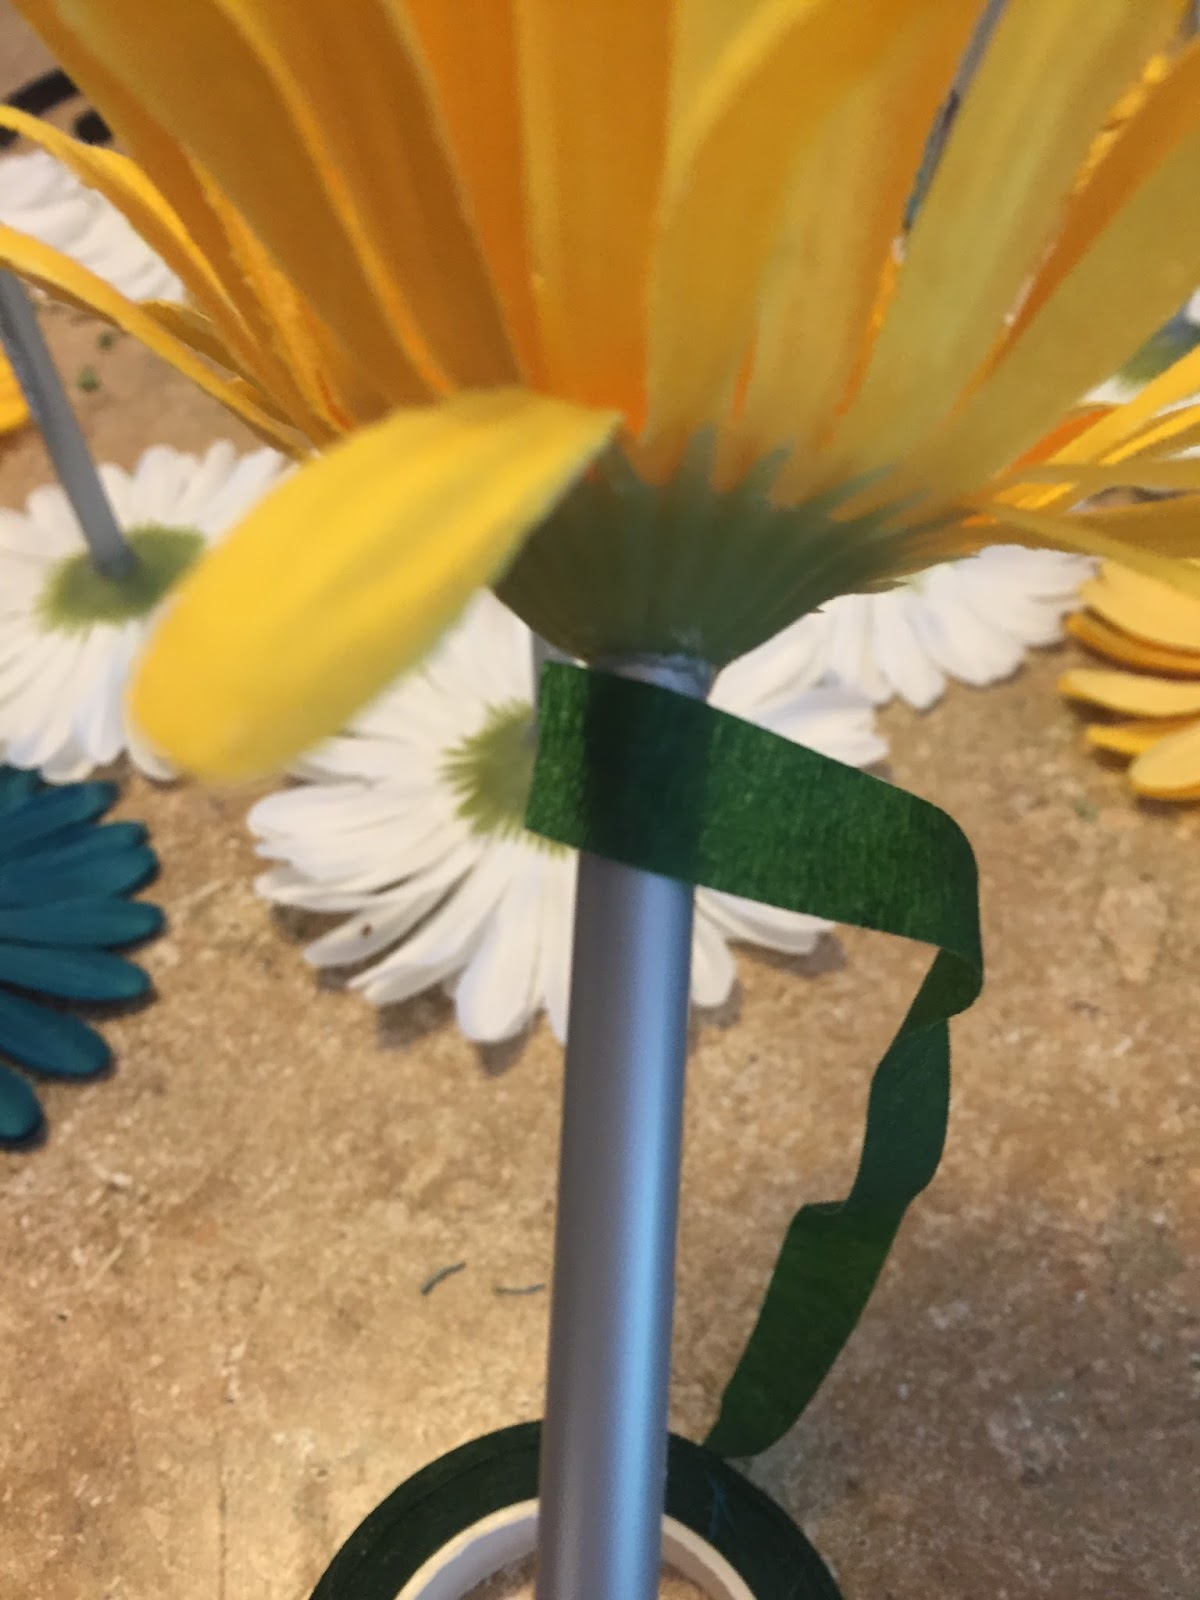
Then secure the very bottom with another dot of glue.

Now you are ready for modge podge. Just take a paint brush and brush the entire stem with the modge podge. It's good to do this step because floral tape has a "sticky" feel and it will make everything nice and smooth. In my case, it makes it less-likely for little fingers to peel off the tape!
 |
| Dry them upside down |

And let the modge podge dry and voila! Flower pens!


Well, this has been a very long post, so I will quit now! I will share more of my classroom as it gets set up soon!
~PEACE!
Shelly
No comments:
Post a Comment